

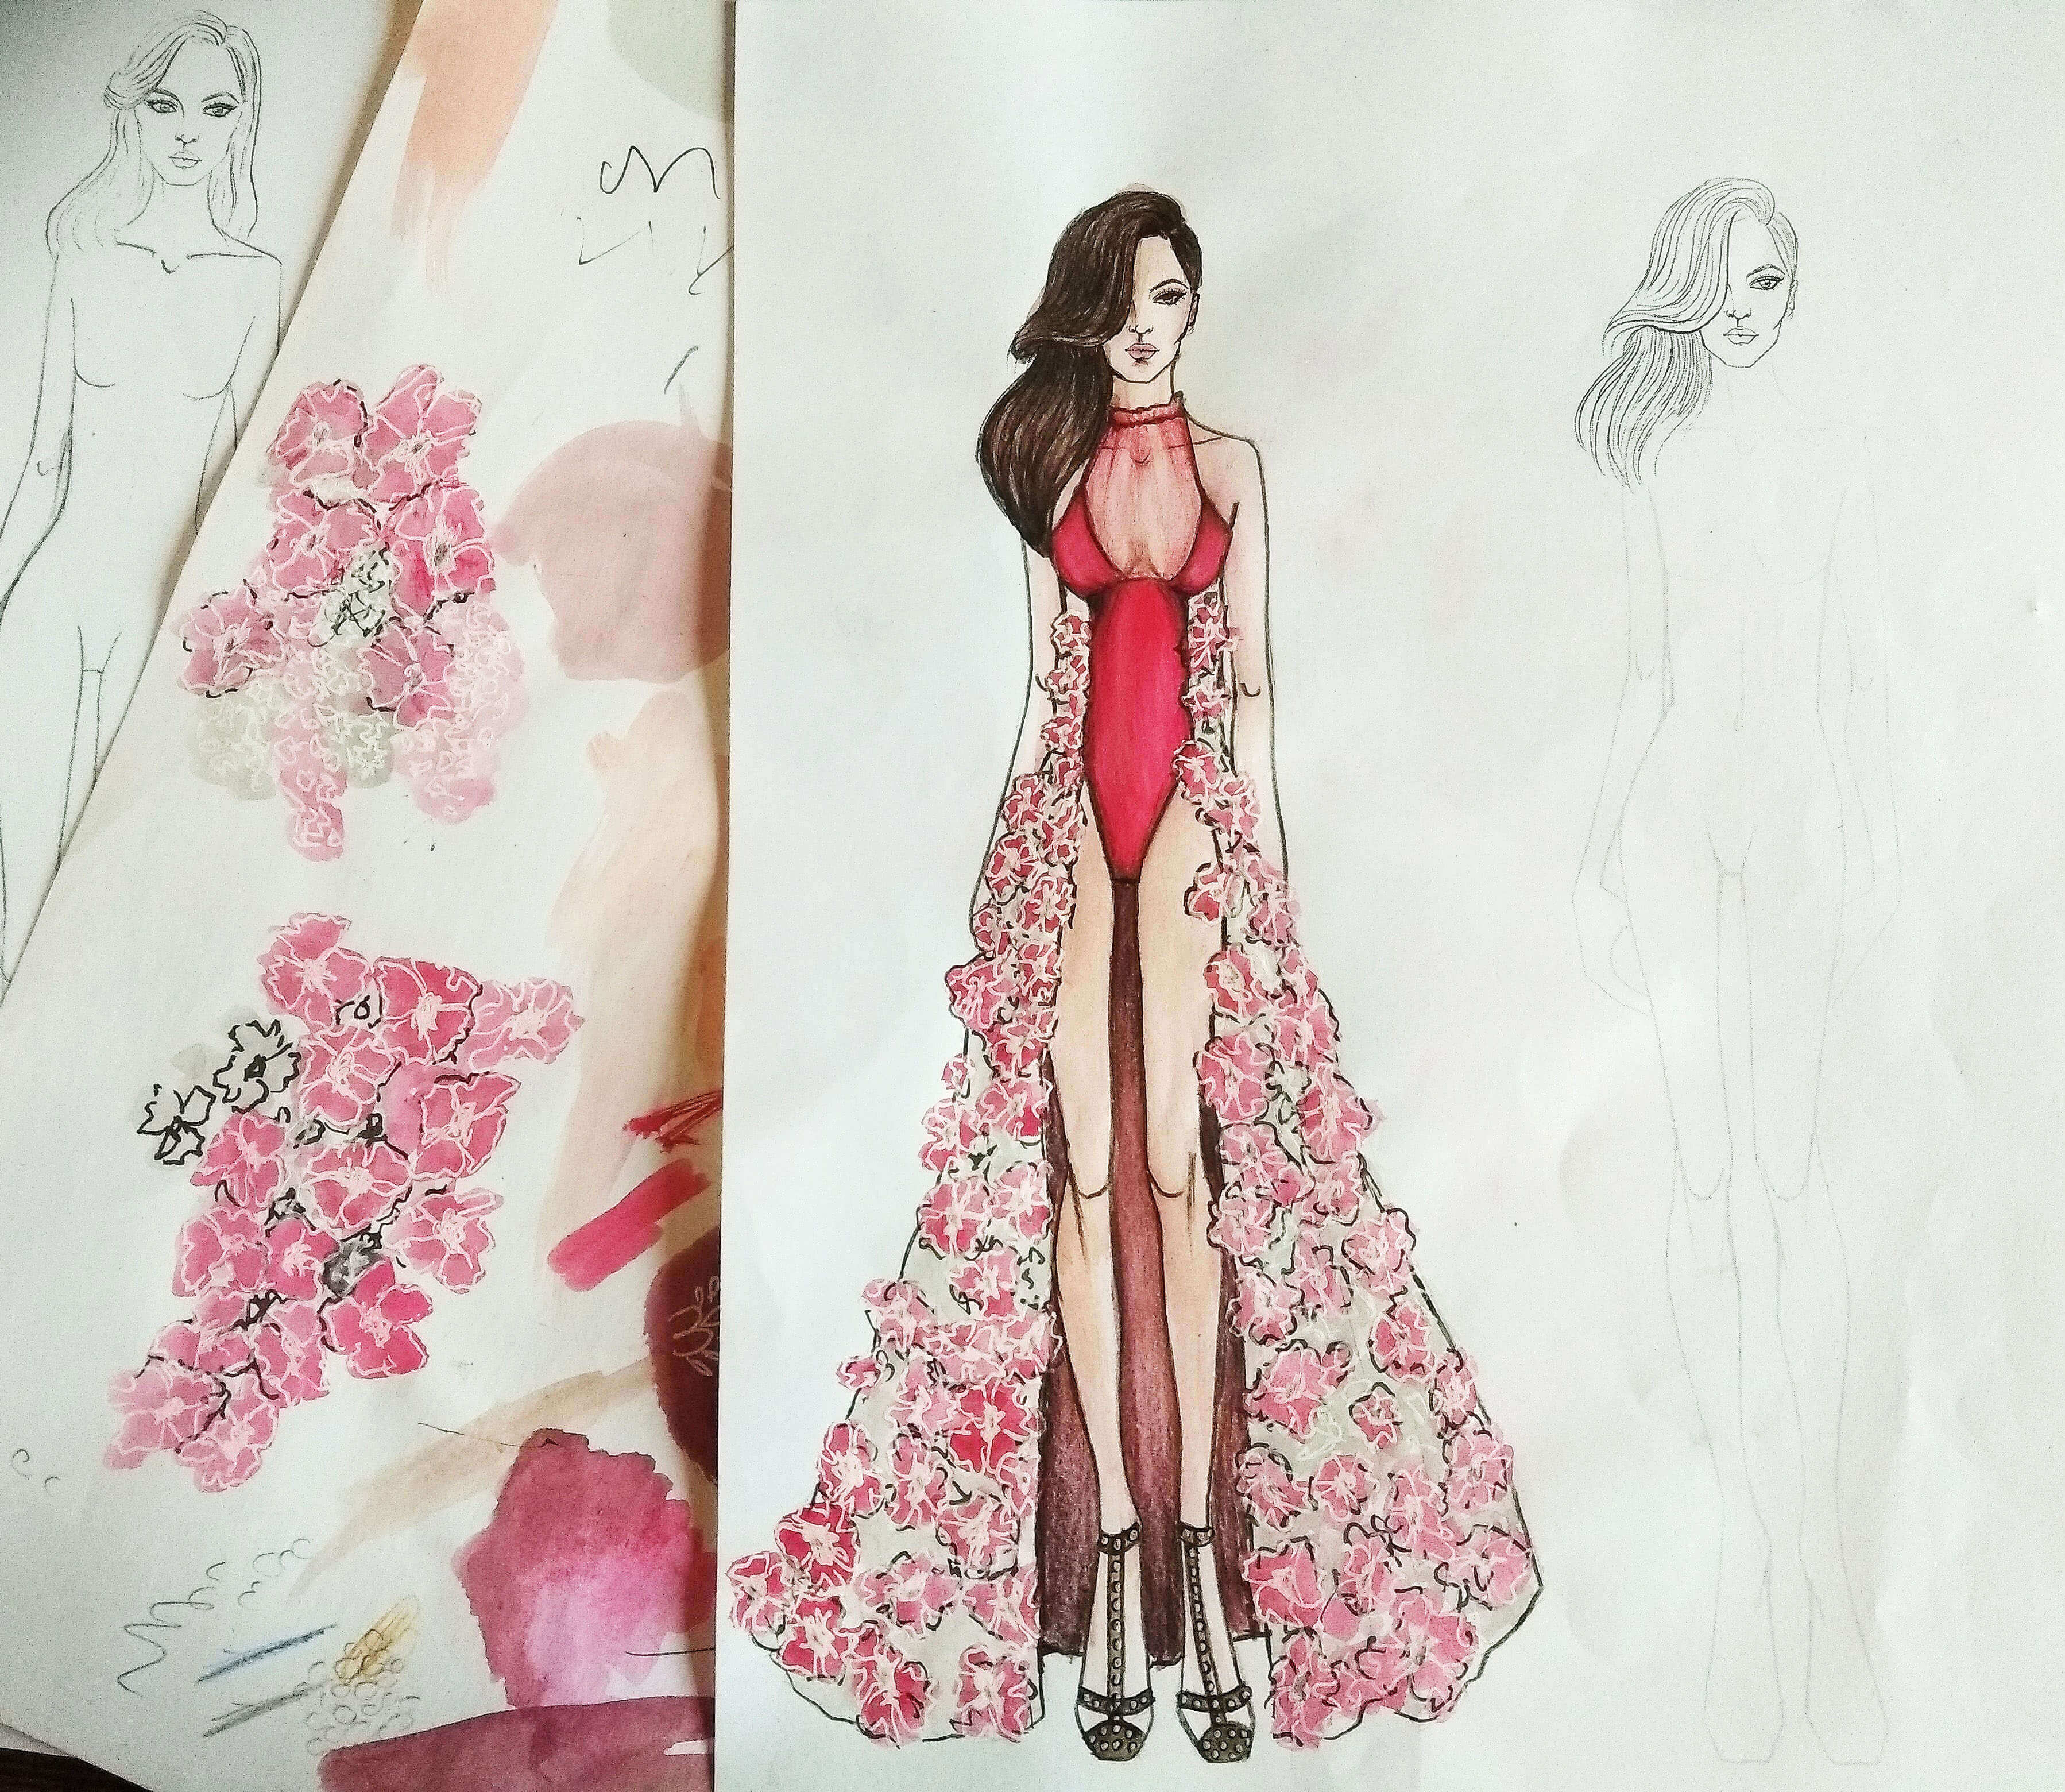
How To Create A Fashion Sketch
Also, I put together the worksheet where you can download by clicking the button below.
Fashion illustration Materials:
For this tutorial I'm using (and recommendations):
You don't have to use these exact colors that I recommend. You can use any brand or anything that you have. Look for the things that you already have and add necessary. You could totally use dollar store stuff or look for cheap options on Amazon. I don't recommend expensive material and I explained why here .
- Poster colors (you can also use water colors, markers instead of poster colors), color pencils
- White gel pen
- Black artist pen
- Pencil (I like to use mechanical pencil, 0.7 mm with 2B leads , Some of my favorite pencils are Faber castle Pitt Artist set, fashionary graphite pencil )
- Eraser.
- Drawing paper, You can use your sketchbook (this is my favorite sketchbook that I use on daily basis and it has pre-drawn croquis templates to make things really easy whenever hit some inspiration)
The Main Fashion sketching Technique:
As I mentioned, this sketch is going to be a lacy couture.
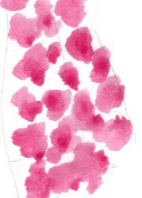
Step 1: I want you to take some color and paint abstract shapes close to each other leaving some gaps in between bunch of them.
You don't have to leave any gaps if you don't want to. I feel leaving gaps in between gives some visual room to breathe and does not look that heavy. Also it gives an extra dimension in the design.
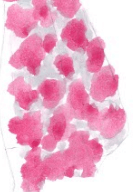
Step 2: Take second color and paint the left over gaps.
Let dry completely. It might take 3 to 5 minutes. (If you don't want to wait you can use hair dryer to dry faster, but Don't Burn the sheet!)
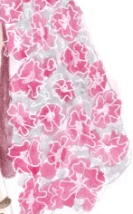
Step 3: Use white gel pen to scribble a thick uneven dot on center of the abstract shape. Then doodle uneven outline that looks like a flower. Do that for all the shapes. This takes a little time and go for it.
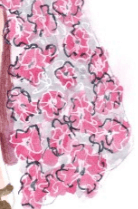
Step 4: Finally use black gel pen to add some depth to the abstract flowers.
So that's the technique and let's see how we can apply it to a dress and make a beautiful fashion sketch.
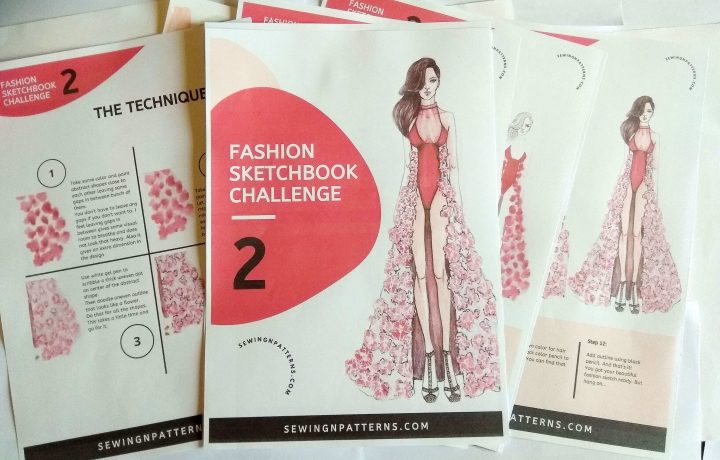
The Step by step Fashion Sketching Process
Note: If you are not that good at drawing croquis, do use fashion templates provided in the worksheet. Croquis are the main thing that makes your sketch stand out.
Now here are a series of steps you can try
")
Step 1:
Draw a croquis or find a template to use. You can find the croquis template inside the worksheets.
If you want to learn how to draw fashion croquis, join this free course
Here are my favorite places to find free fashion templates.
If you are looking for profession fashion templates to add to your fashion design kit, I would highly recommend these . (OMG they are so cute, I got them recently and totally loving them)
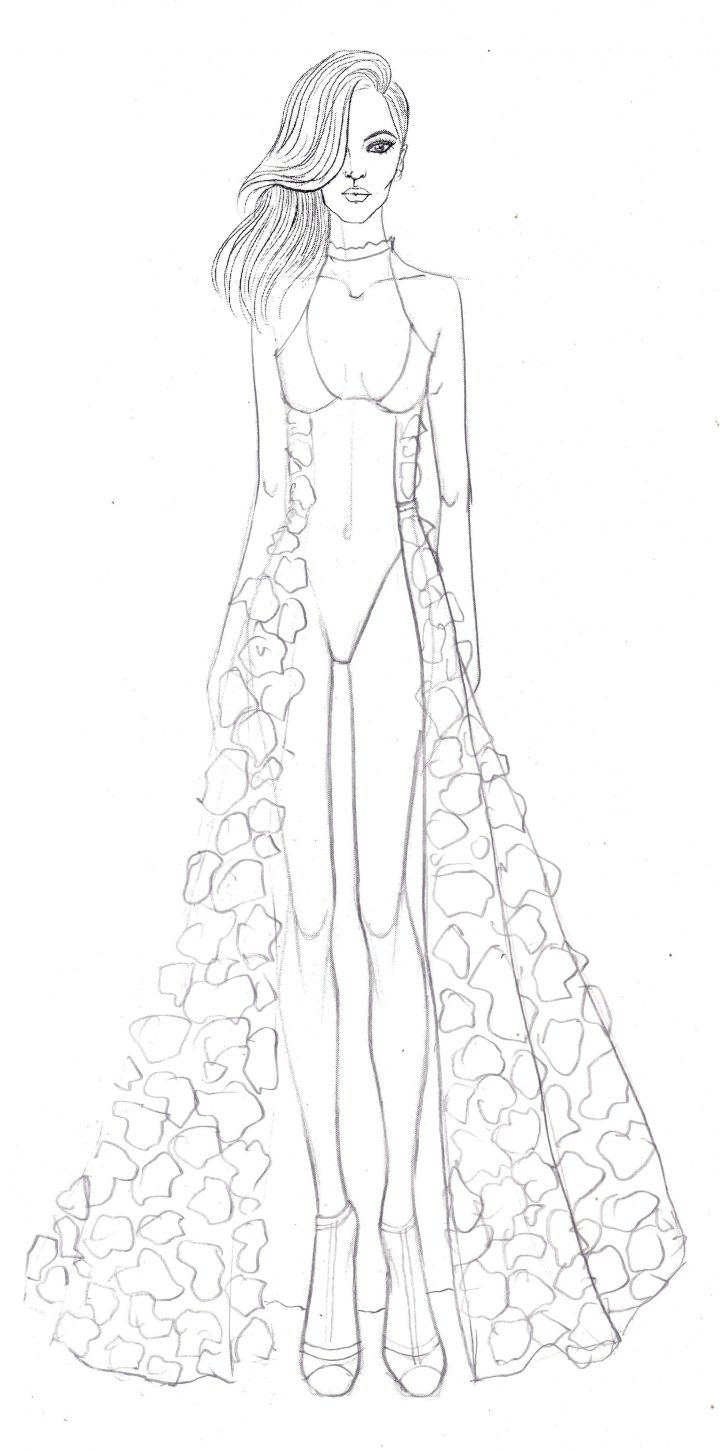
Step 2:
Draw a dress or you can use the dress template from the worksheet and add abstract shapes to it.
Erase the outlines lightly to make the sketch ready to paint. I don't want these pencils lines to appear after the final sketch. Just erase lightly so that you can still see the outlines.
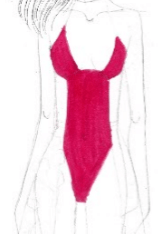
Step 3:
Fill out the bodice area with flat color

Step 4:
Paint the abstract shapes. I want these shapes to come outside the outline of the dress.
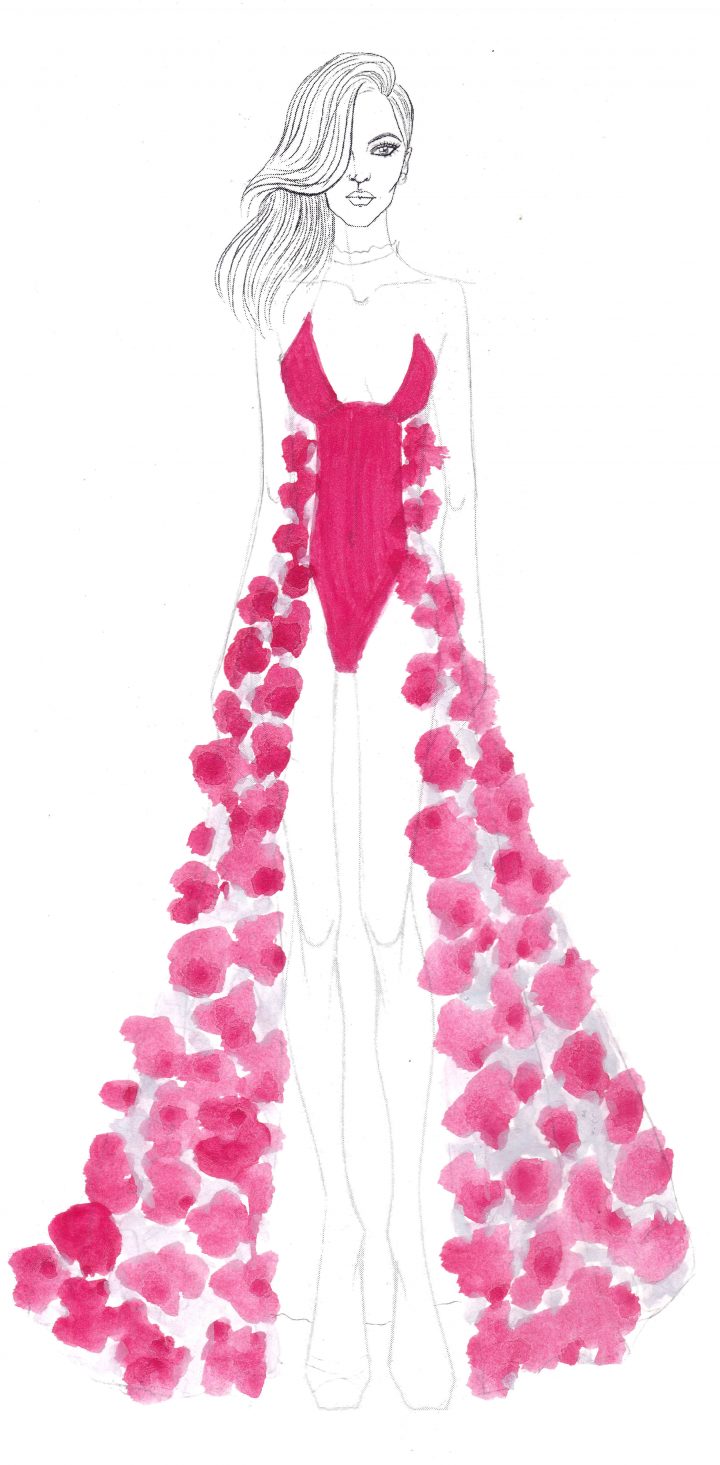
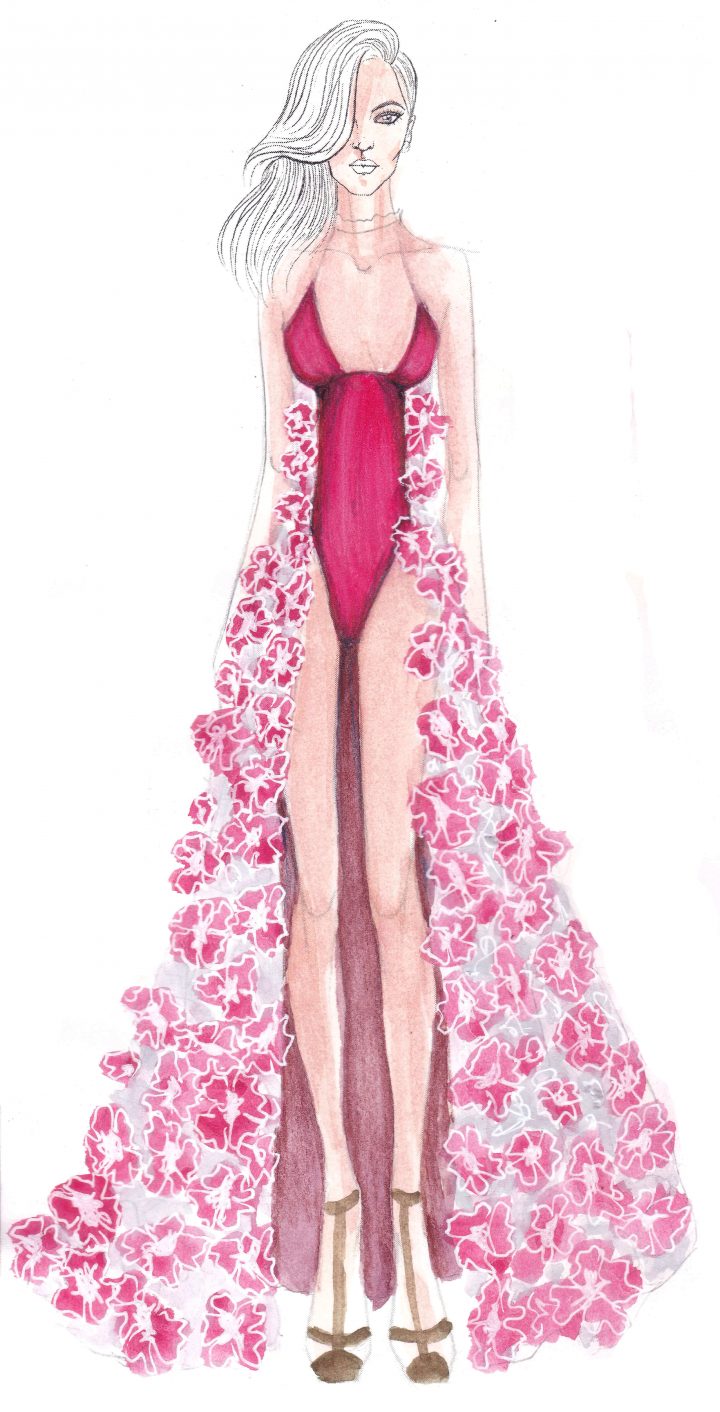
Step 5:
Add the second color to fill out the gaps between abstract shapes. I used grey color for this.
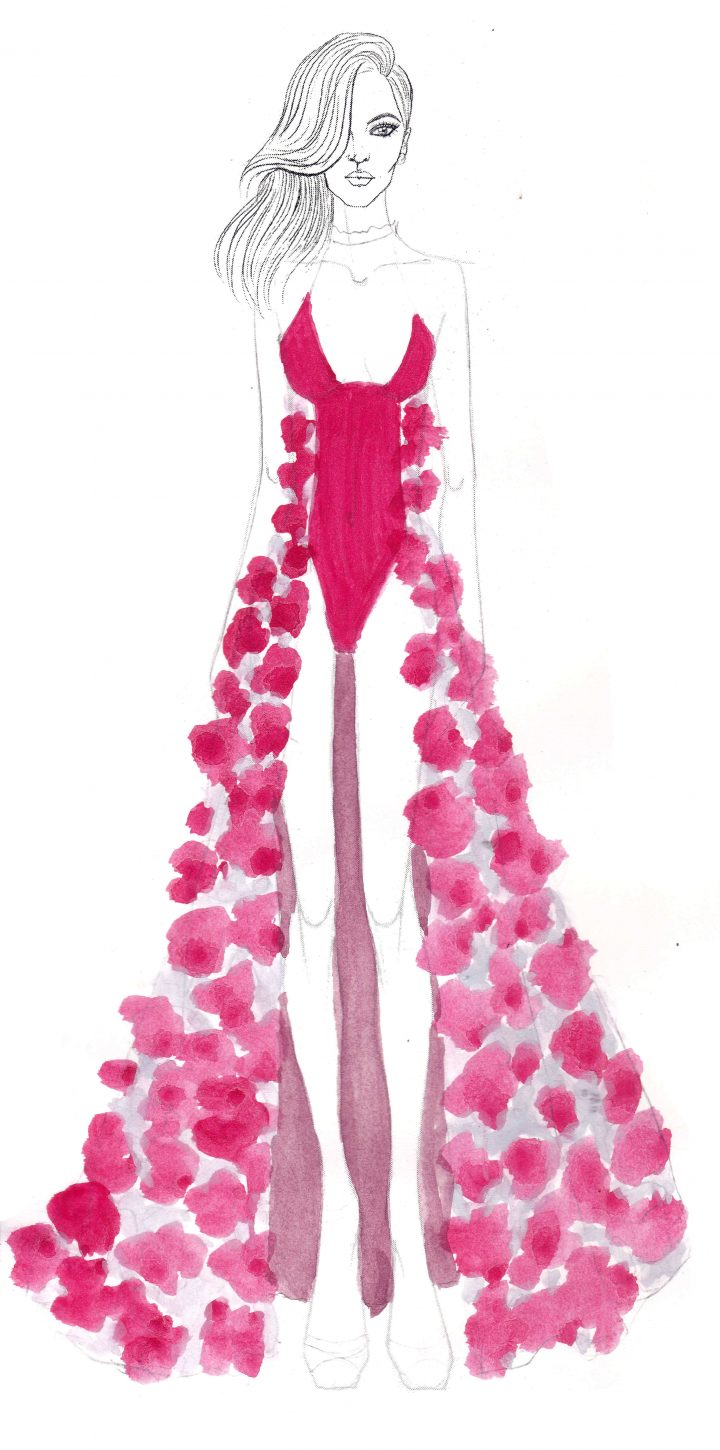
Step 6:
Fill back skirt area in flat color. Something darker, so that the legs pop up.
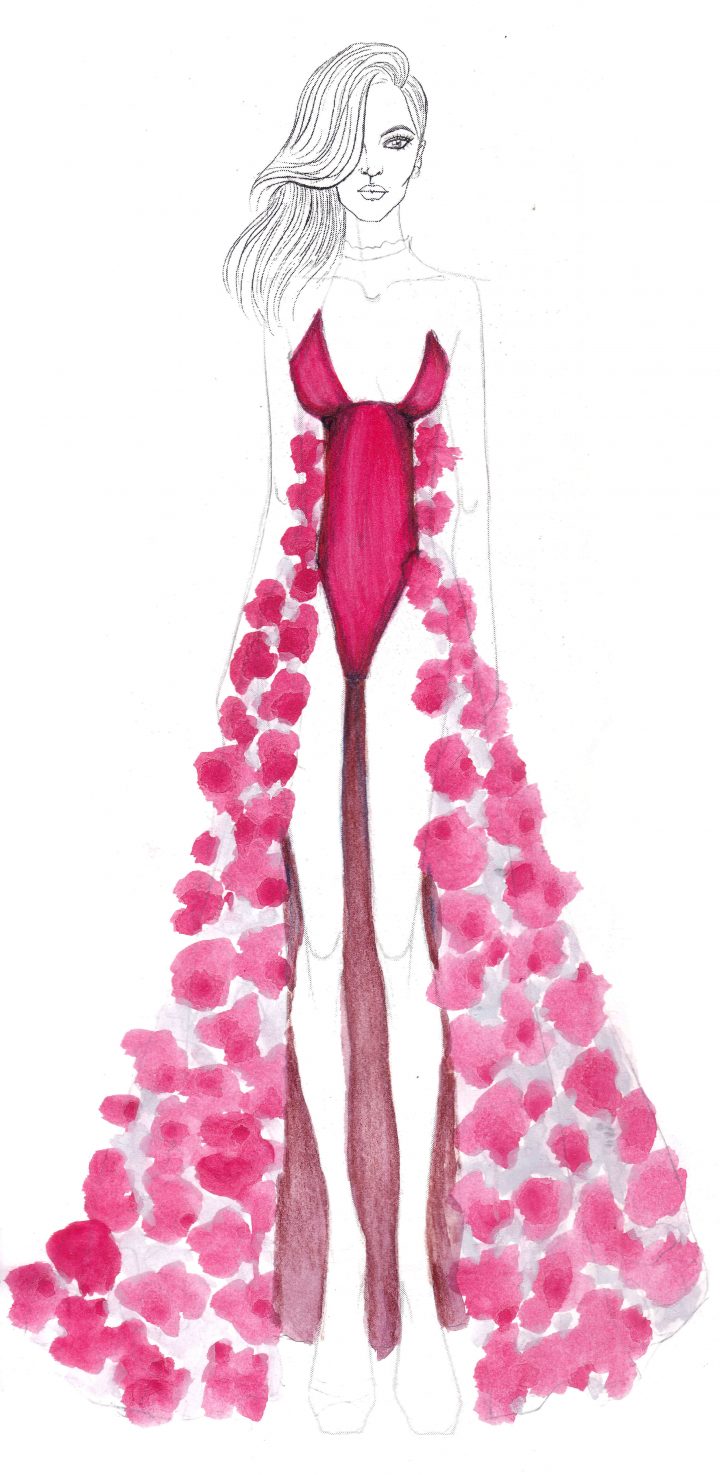
Step 8:
Add the skin. Tutorial here. If you are a member of fashion sketchbook challenge 1, look at the shading and skin lessons. I don't stress much with the skin. Just take some skin color and paint it in a stroke.
Step 9:
Use white gel pen to outline those abstract shapes as shown on the technique.
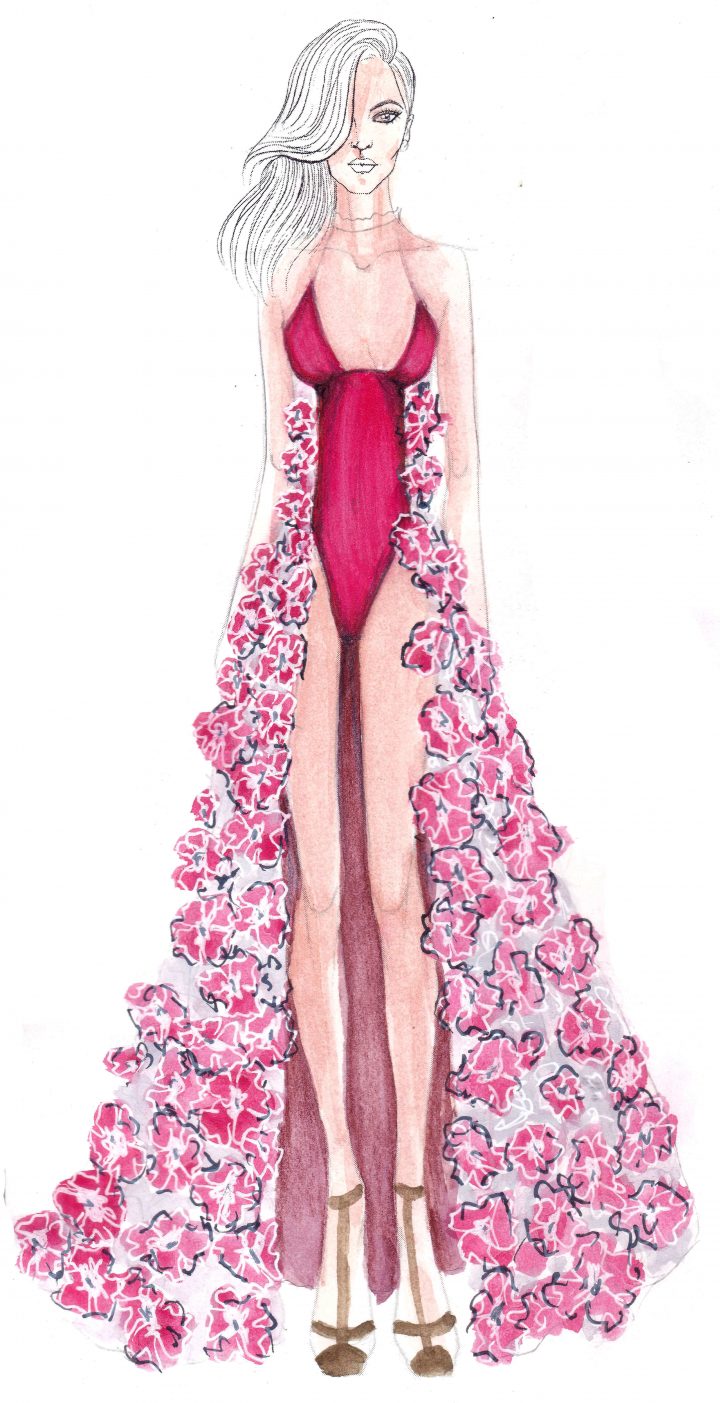
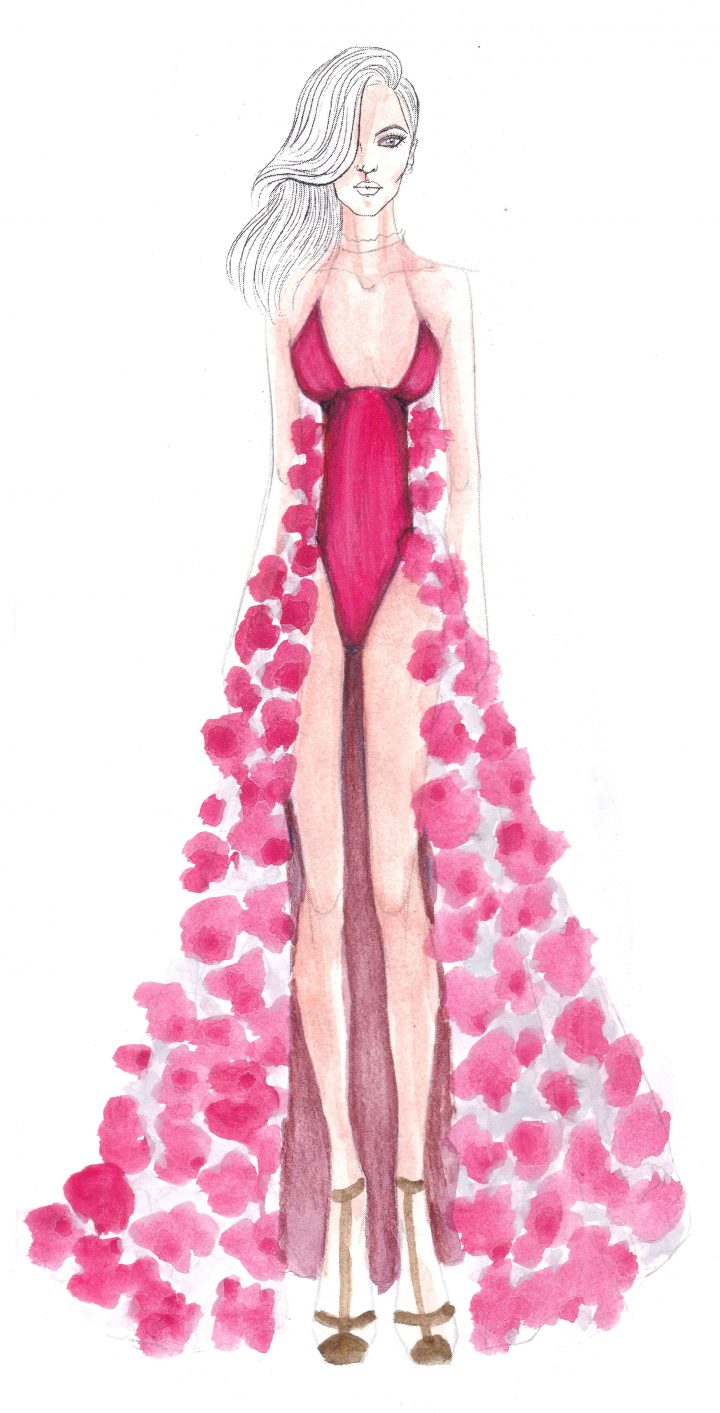
Step 10:
Use black gel pen to add depth.
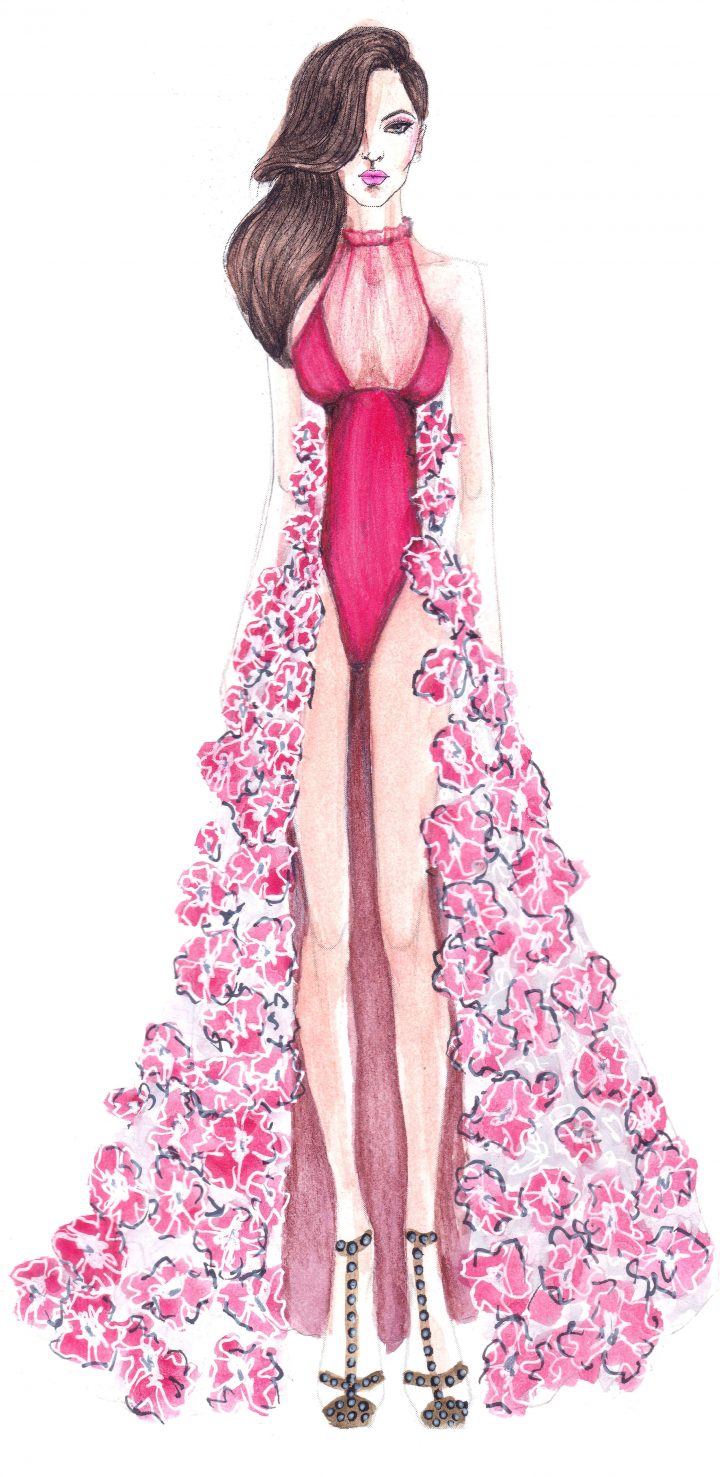
Step 11:
Add hair, I paint brown color for hair first and then use black color pencil to draw lines like hair. You can find that on above tutorial.
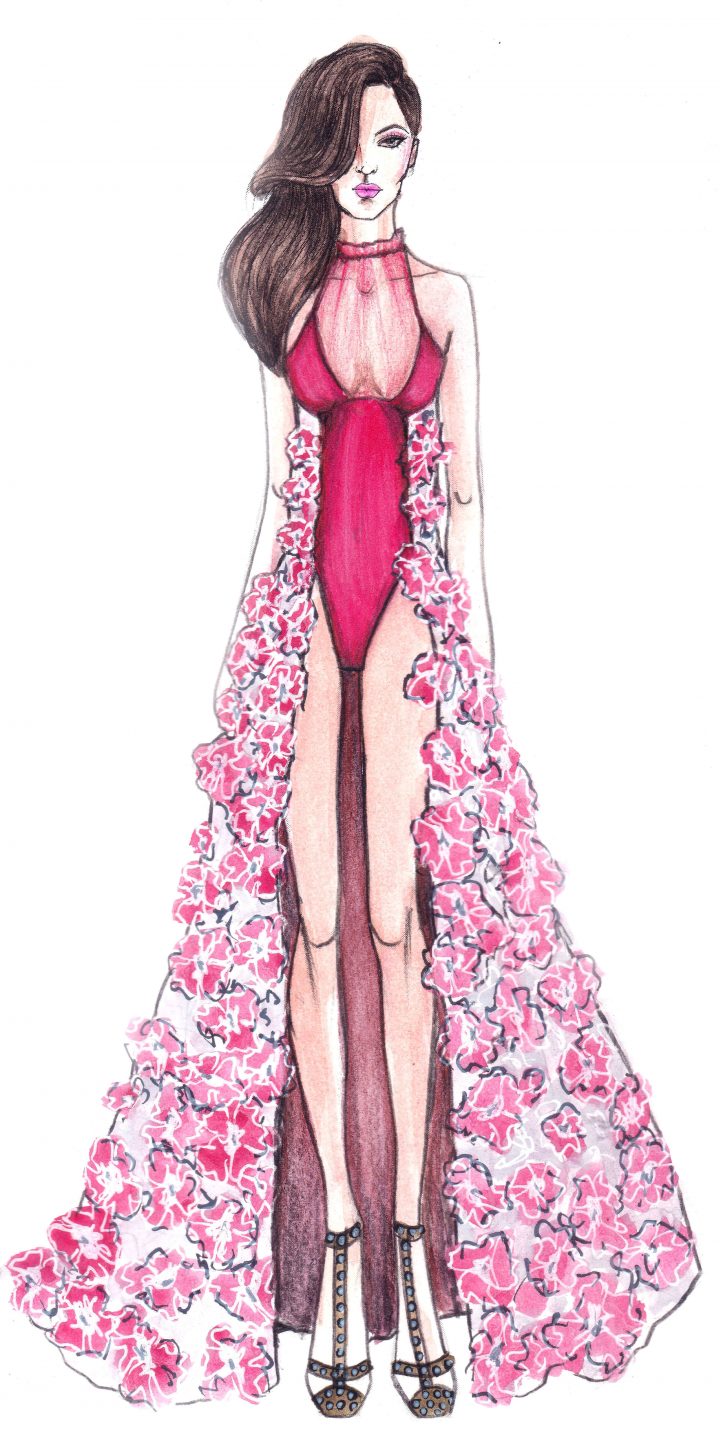
Step 12:
Add outline using black pencil. And that's it!
You got your beautiful fashion sketch ready.
How To Create A Fashion Sketch
Source: https://sewingnpatterns.com/fashion-sketches/
Posted by: saezawaseen.blogspot.com
0 Response to "How To Create A Fashion Sketch"
Post a Comment