

How To Create A Spring Boot Project In Eclipse
This article describes how to use the Gradle tooling in Eclipse.
1. Eclipse Gradle support
The Opens source project which creates this support itself is called Buildship and is led by Gradle Inc, the company behind the Gradle build framework. It is available on Buildship on Github.
The tooling provides wizards for creating new Java based Gradle projects and options to execute Gradle build from the IDE.
Most Eclipse IDE downloads already include support for the Gradle build system. To check, use and check if you can see the Gradle logo.
![]()
If the Gradle support is not installed, the following description can be used to install it. You can either use the marketplace client (which is the easiest option) or the Eclipse installation manager.
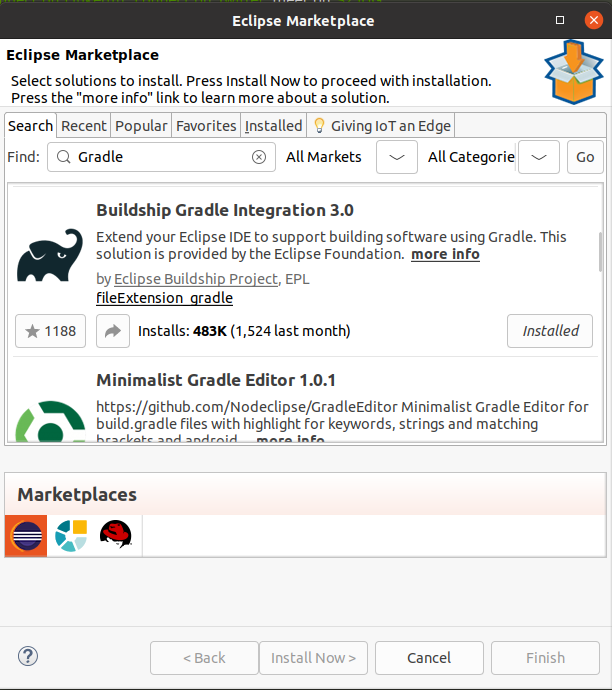
Installation via the Marketplace
To install the Gradle support via the Marketplace client, select . Search for Buildship, select the entry and install ist.
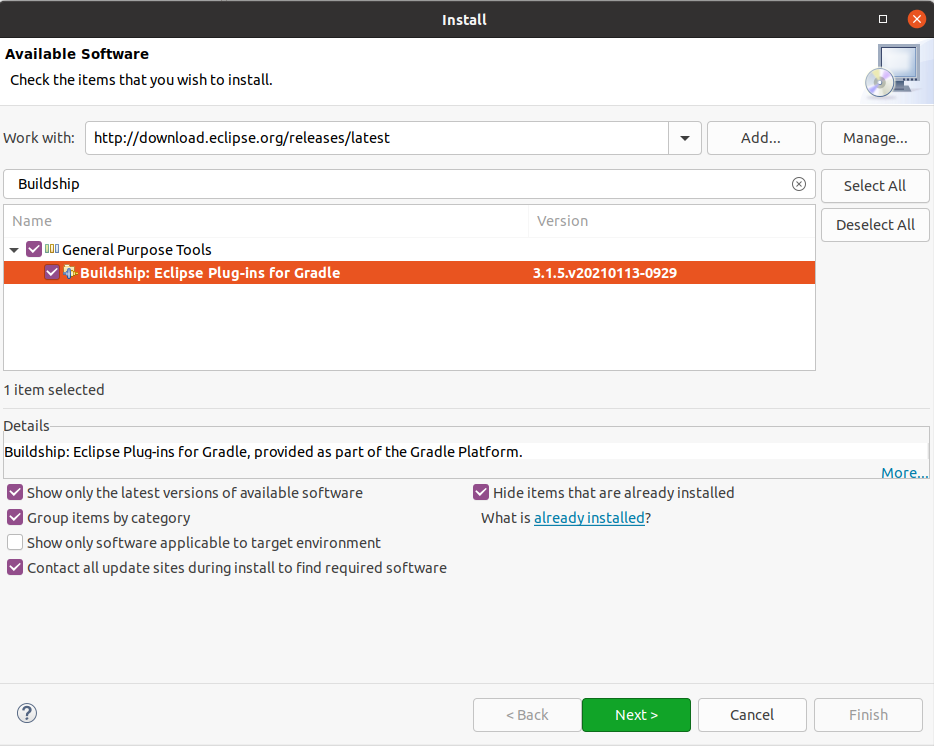
Installation via the Eclipse update manager
You also can use the menu path to install the Gradle tooling.
For example, the following URLs are available for the different Eclipse releases:
-
Latest Eclipse release
-
Eclipse 2021-09 release
3. How to create a Gradle project for Java with Eclipse
To create a new Gradle project with the Eclipse IDE, select the menu entry and select Gradle/Gradle Project.
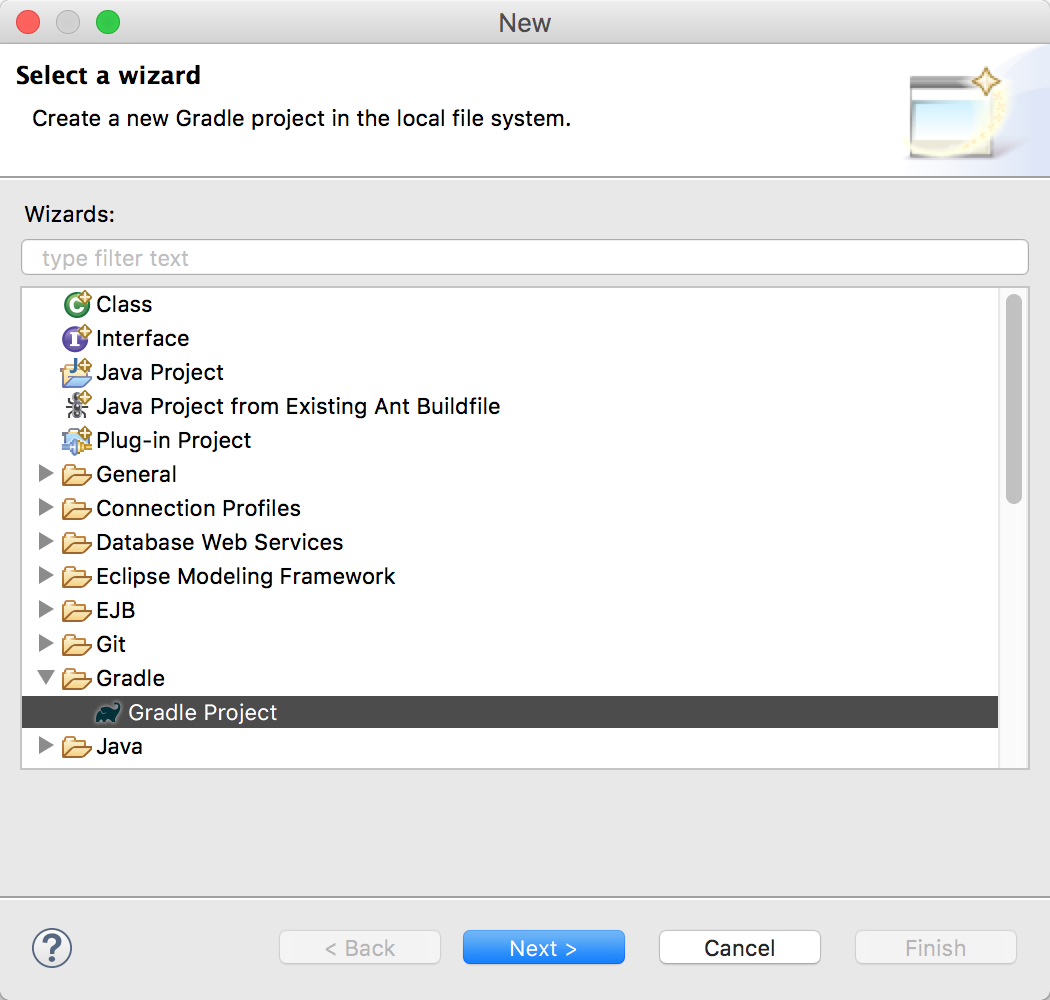
Click on the Next > button.
The wizard may show you a Welcome page, you can disable this via the _"Show the welcome page the next time the wizard appears" flag.
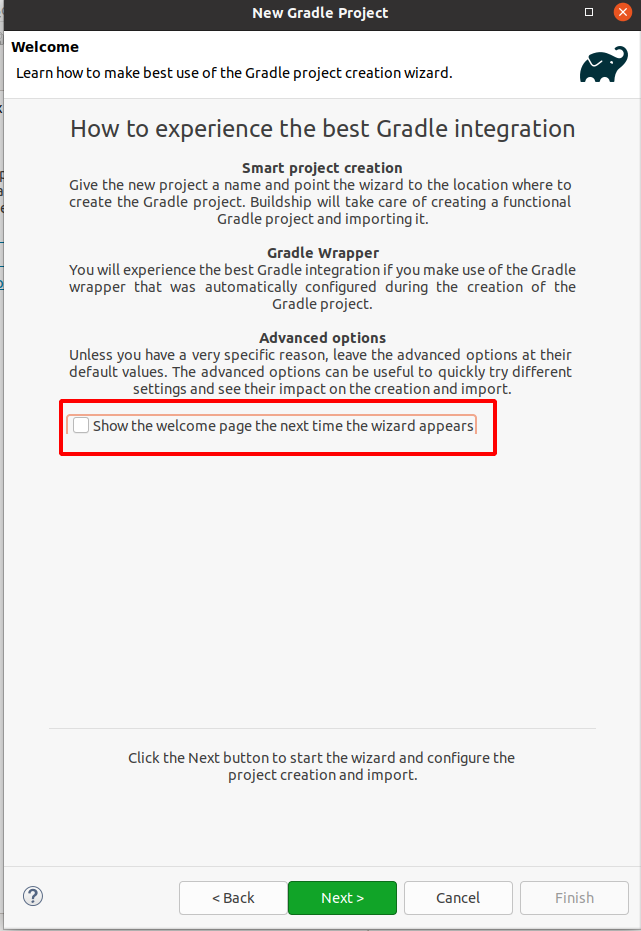
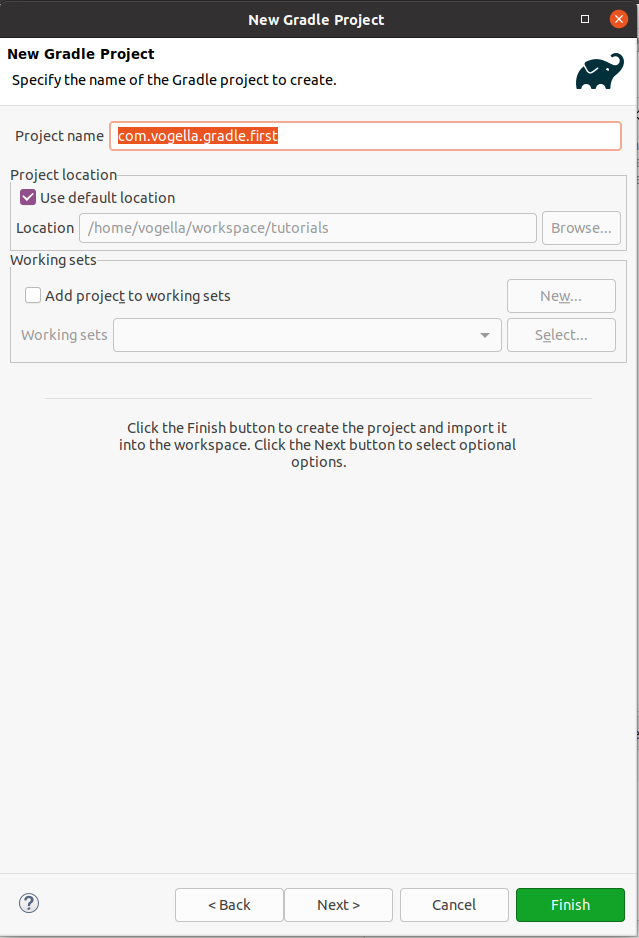
The Next > button would allow to configure the project. Select the version you are interested in.
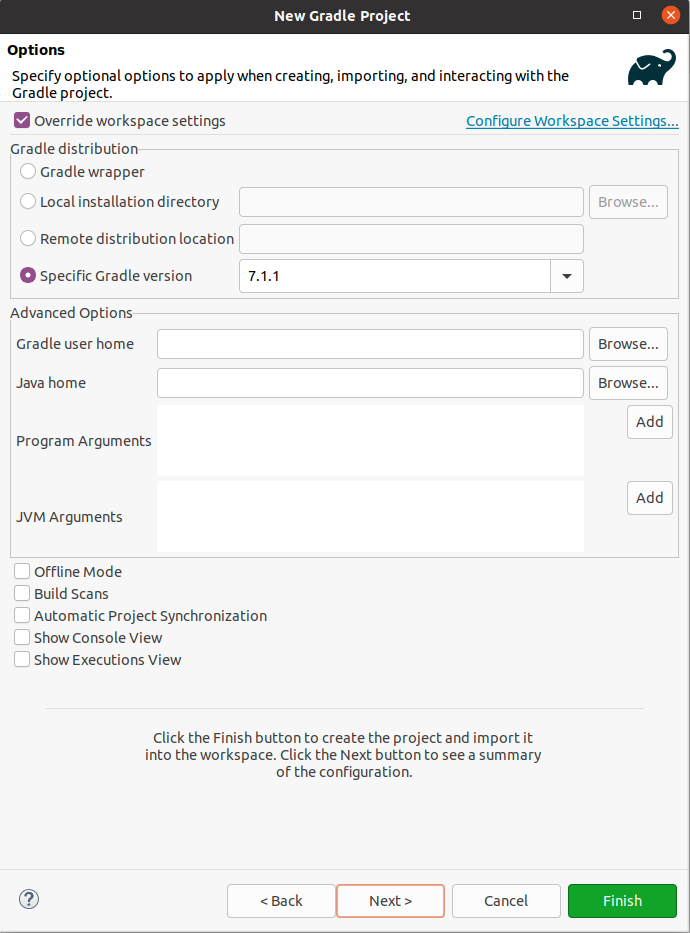
Press the Finish button to create the project.
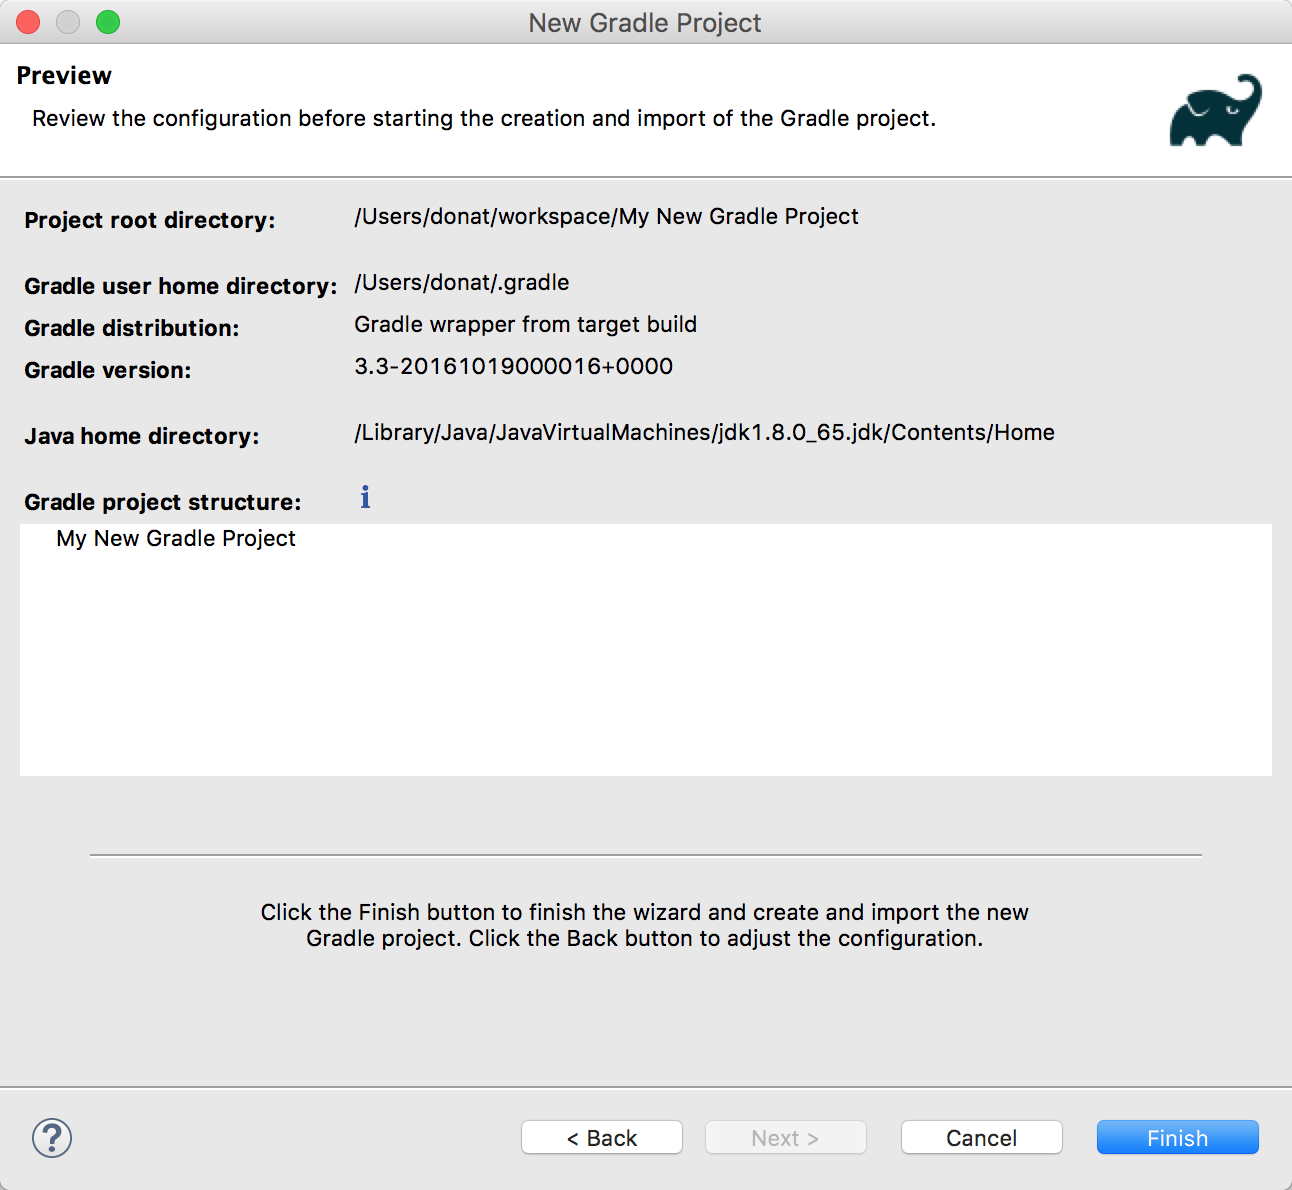
This triggers the gradle init --type java-library command and imports the project. Press the Next > button to get a preview of the configuration before the projects created.
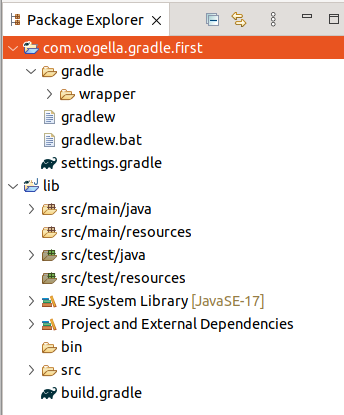
The created project looks similar to the following screenshot.
4. How to create a new Gradle powered Spring Boot application with Eclipse
The following demonstrates how to create a Spring Boot webapplication with Gradle.
First, create a standard Gradle project called com.vogella.springboot.gradle.minimal.
Change the build.gradle file to the following:
buildscript { ext { springBootVersion = '1.5.3.RELEASE' } repositories { mavenCentral () } dependencies { classpath ( "org.springframework.boot:spring-boot-gradle-plugin:${springBootVersion}" ) } } apply plugin: 'java' apply plugin: 'eclipse' apply plugin: 'org.springframework.boot' jar { baseName = 'com.vogella.springboot' version = '0.0.1-SNAPSHOT' } sourceCompatibility = 1.8 repositories { mavenCentral () } dependencies { compile ( 'org.springframework.boot:spring-boot-starter' ) compile ( 'org.springframework.boot:spring-boot-starter-cache' ) compile ( 'org.springframework.boot:spring-boot-starter-data-rest' ) compile ( 'org.springframework.boot:spring-boot-starter-hateoas' ) compile ( 'org.springframework.boot:spring-boot-starter-data-jpa' ) compile ( 'org.springframework.boot:spring-boot-starter-data-rest' ) compile ( 'com.h2database:h2' ) testCompile ( 'org.springframework.boot:spring-boot-starter-test' ) testCompile ( 'org.springframework.restdocs:spring-restdocs-mockmvc' ) } Create the following class.
package com.vogella.springboot.gradle.minimal ; import org.springframework.boot.SpringApplication ; import org.springframework.boot.autoconfigure.SpringBootApplication ; @SpringBootApplication public class Application { public static void main ( String [] args ) { SpringApplication . run ( Application . class , args ); } } Select this class, and select via the context menu .
5. Import an existing Gradle project
You can also import existing Gradle projects into Eclipse. Select the menu entry for this.
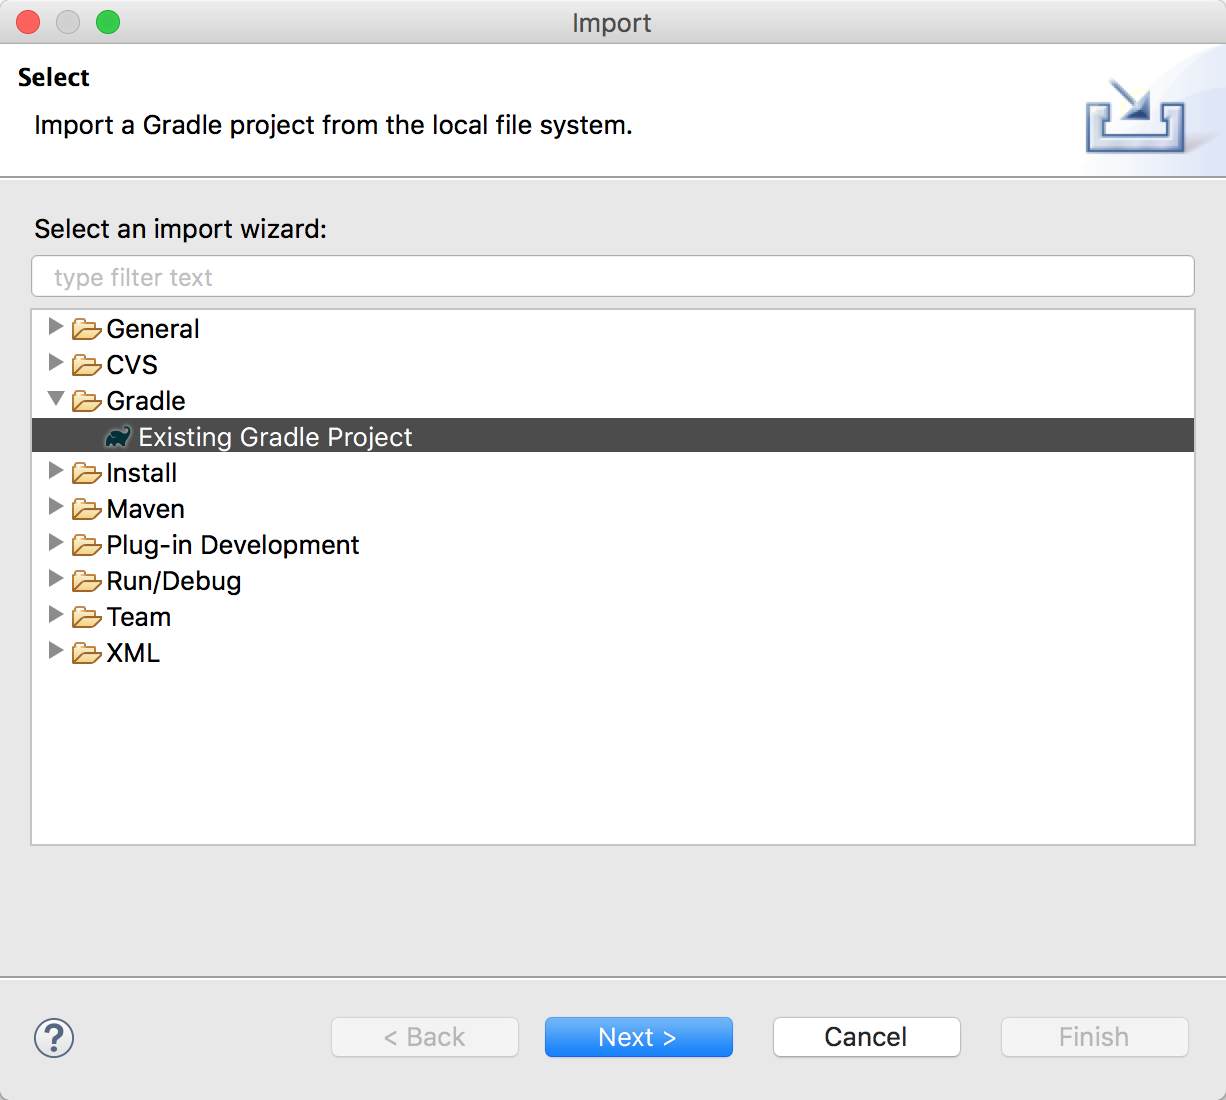
After pressing the Next > button, you need to specify the root directory of your Gradle project.
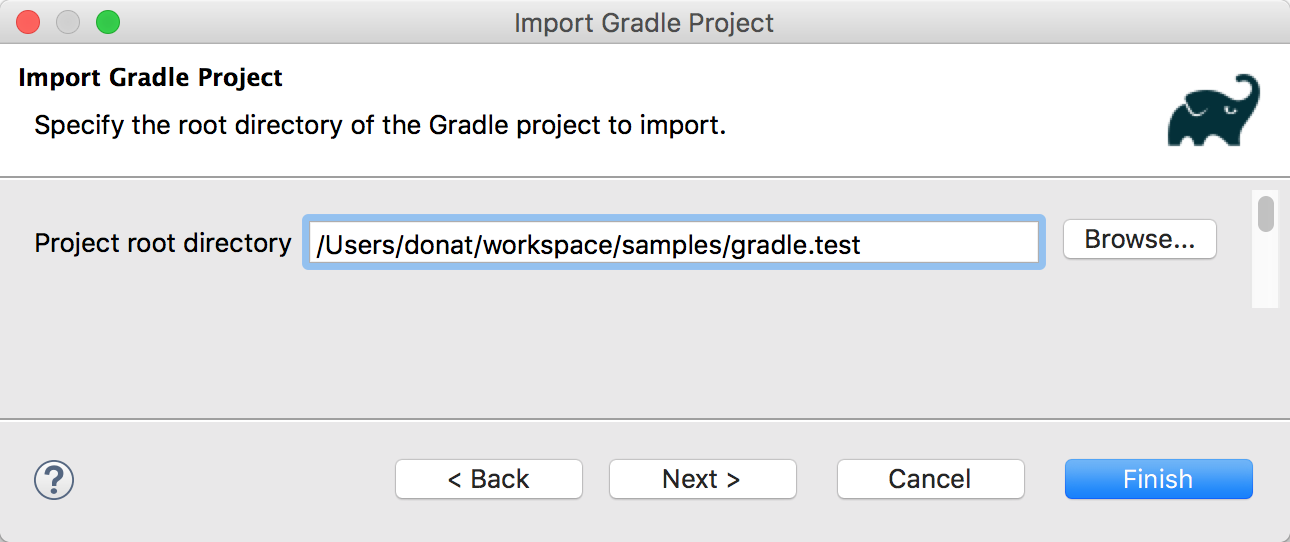
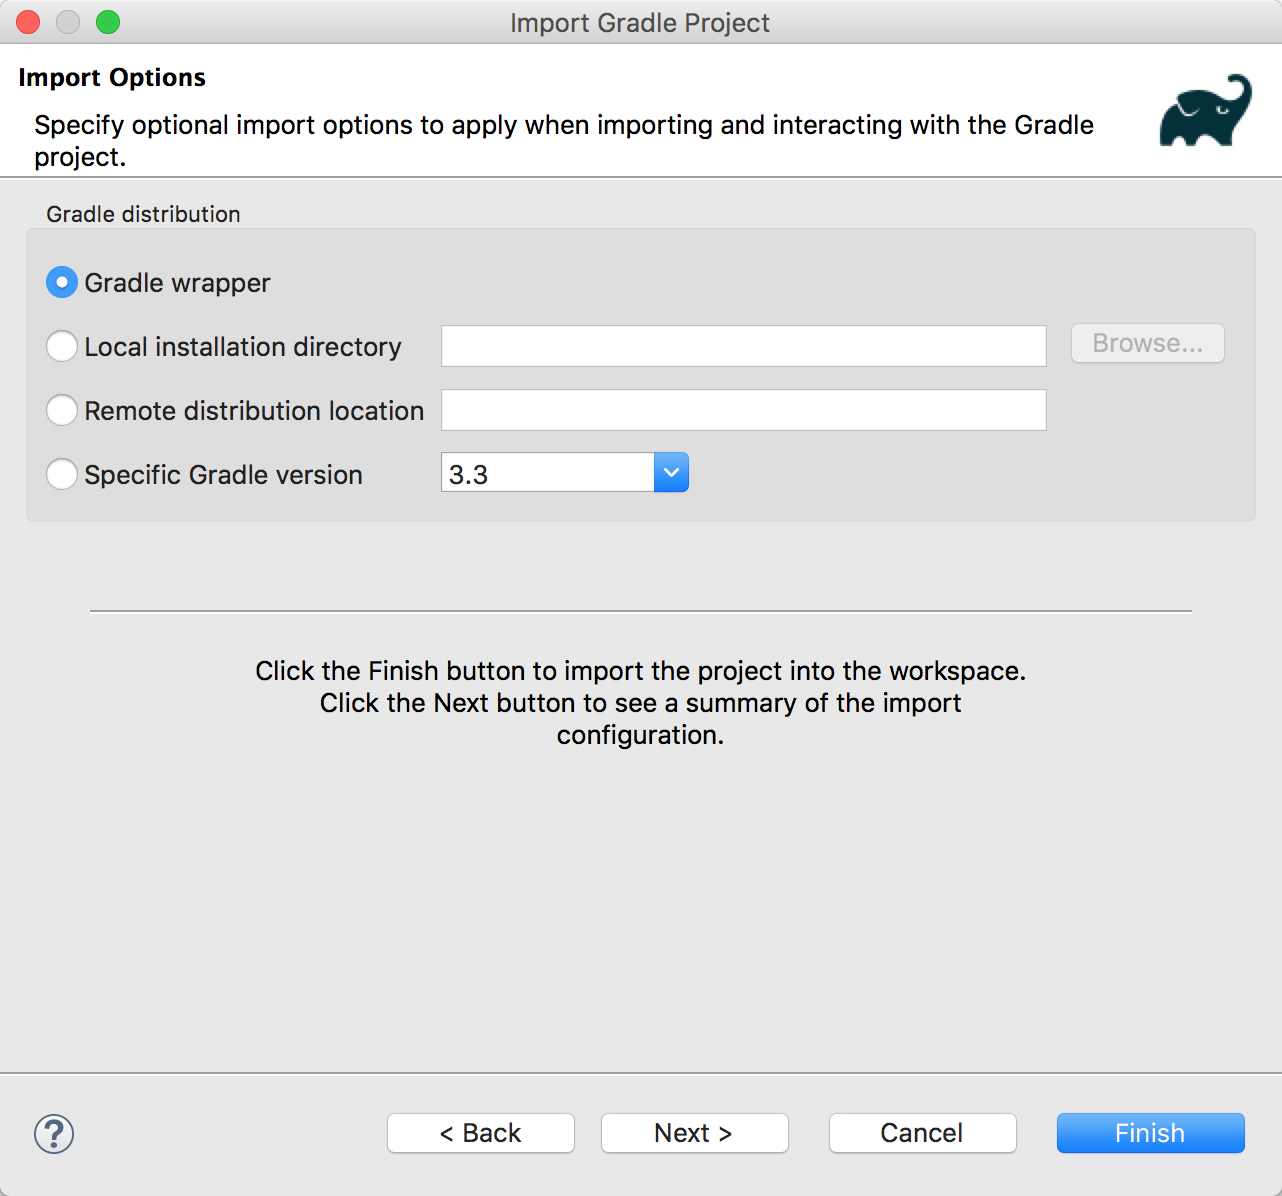
You may now press Finish button and use the default settings for the import or press the Next button and specify the Gradle runtime settings.
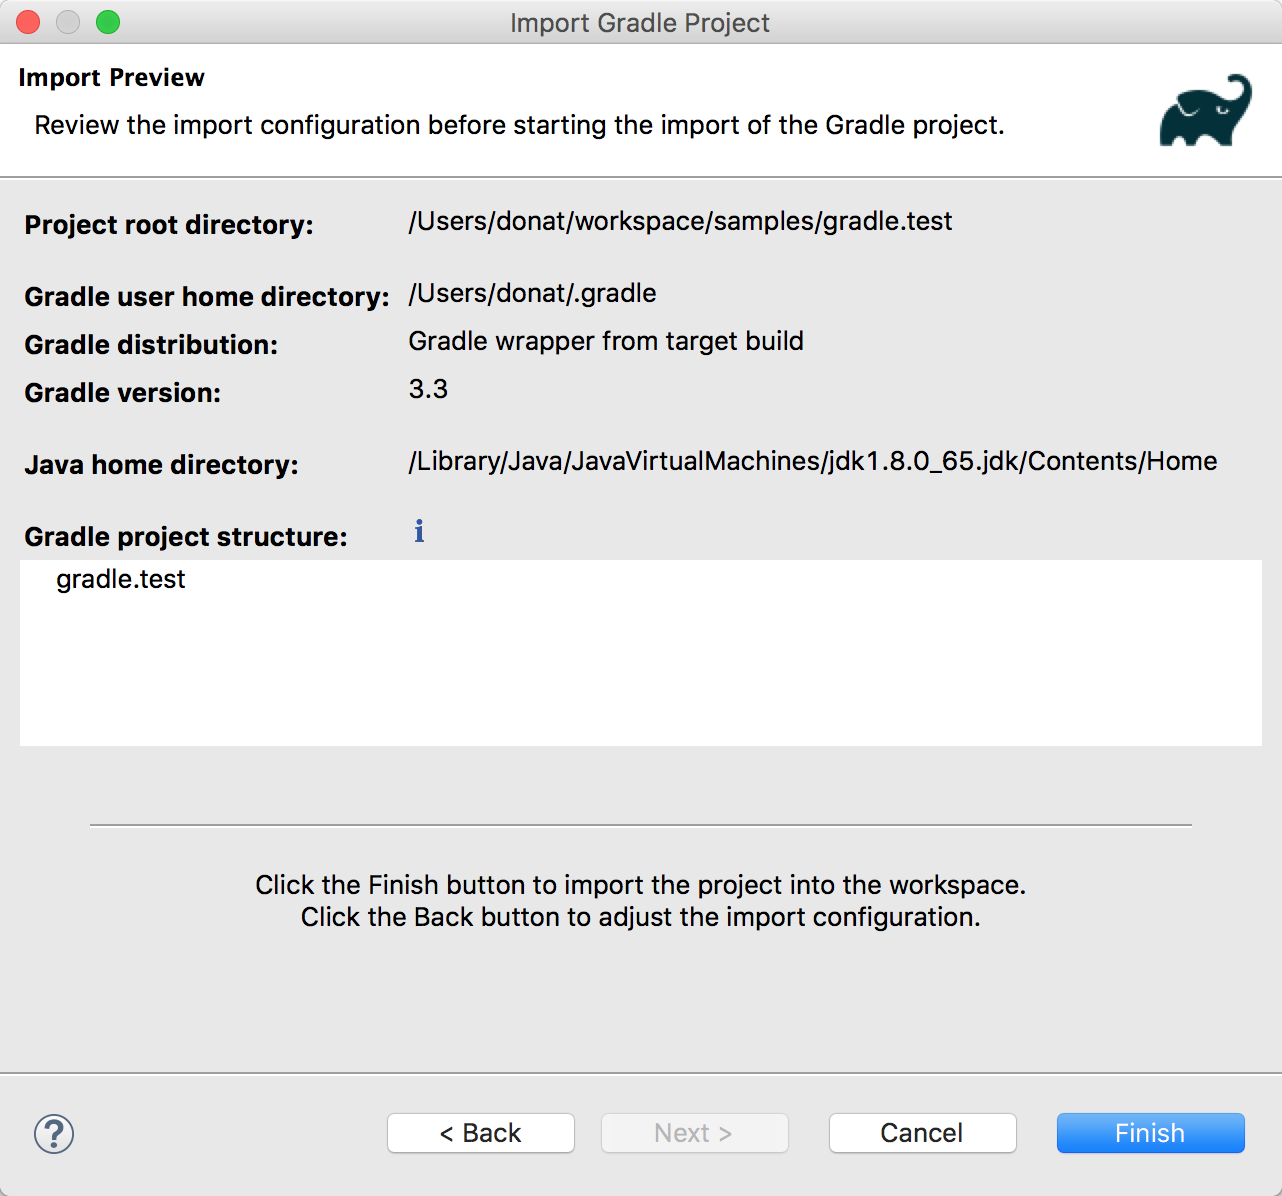
Afterwards the import preview is shown.
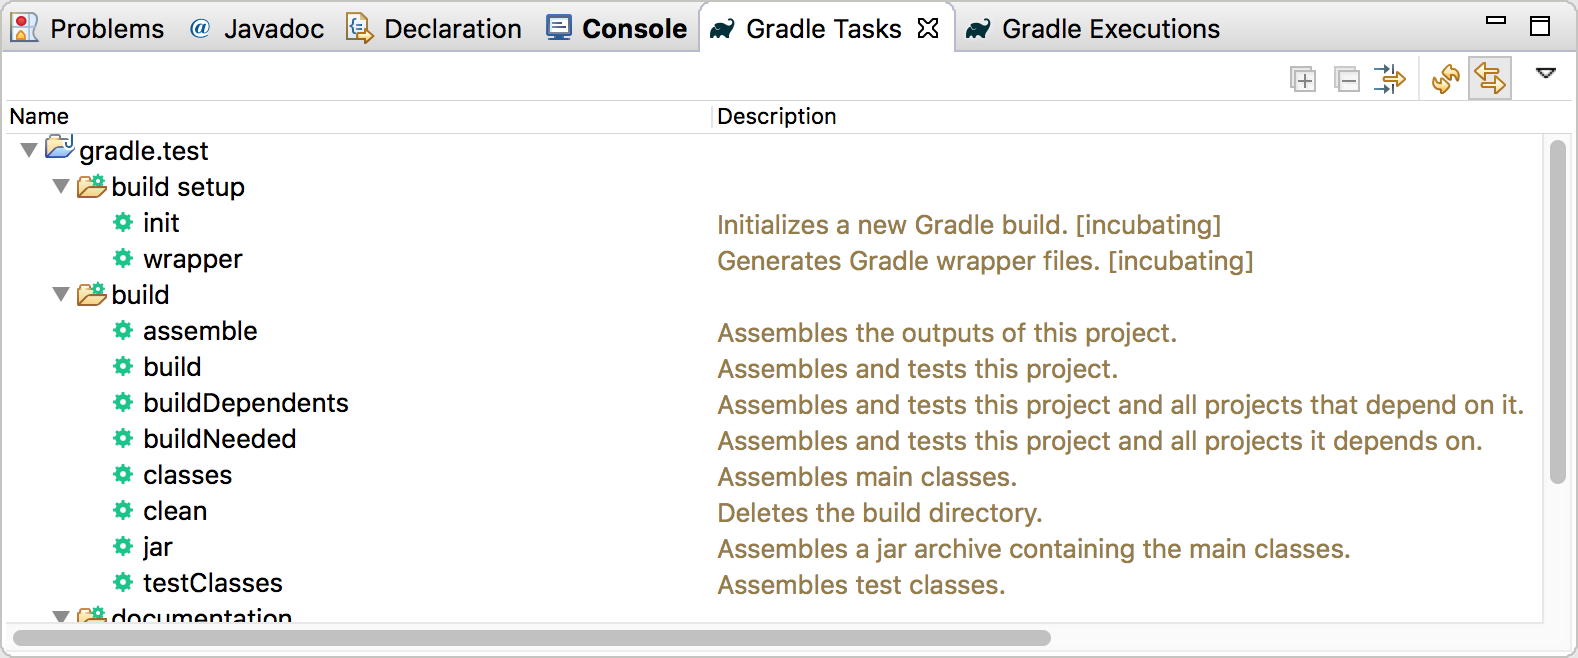
6.1. Using the Gradle Tasks view
The Gradle Tasks view shows the available Gradle tasks for your projects.
Via the context menu you can run a selected Gradle task.
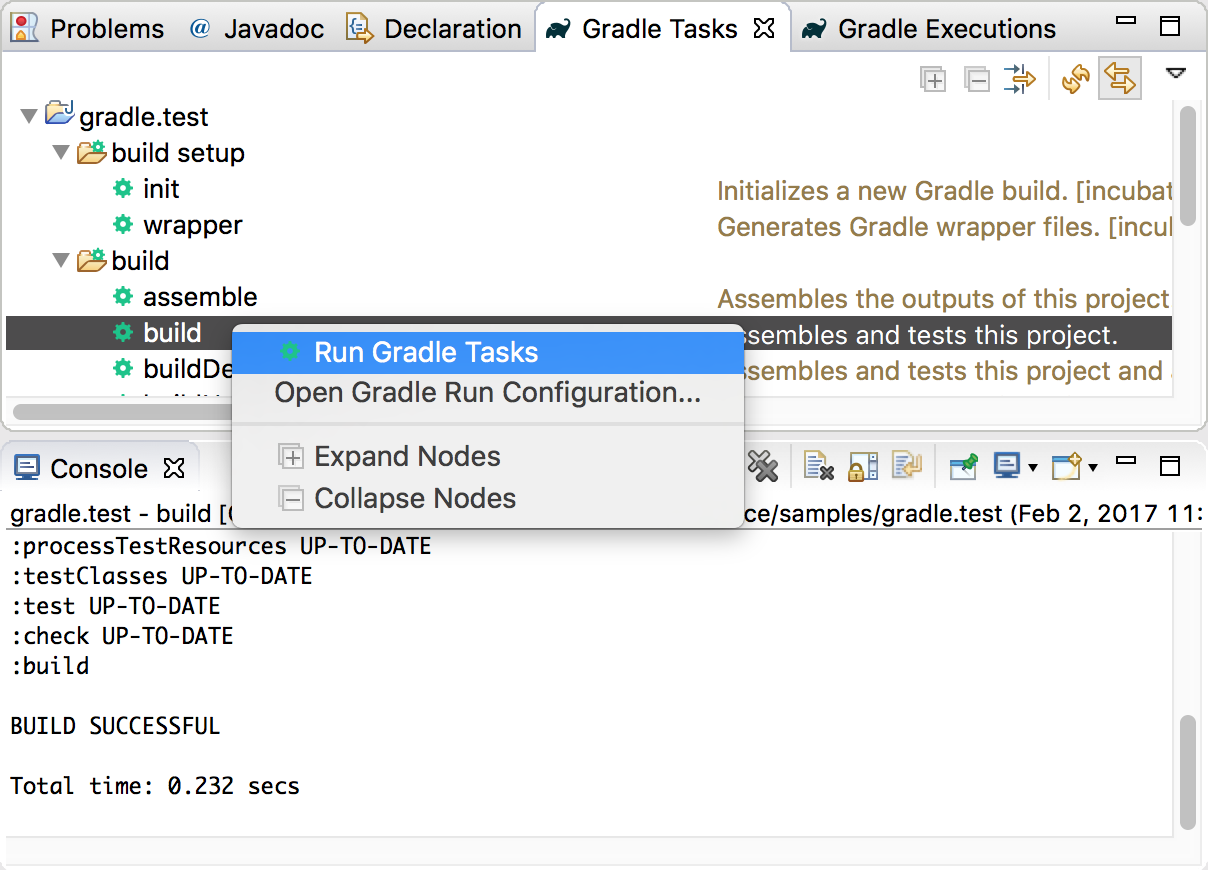
By default, the result is displayed in the Gradle Executions view. It is also displayed in the Console view. This is similar to the output you would get if you run the task via the command line.
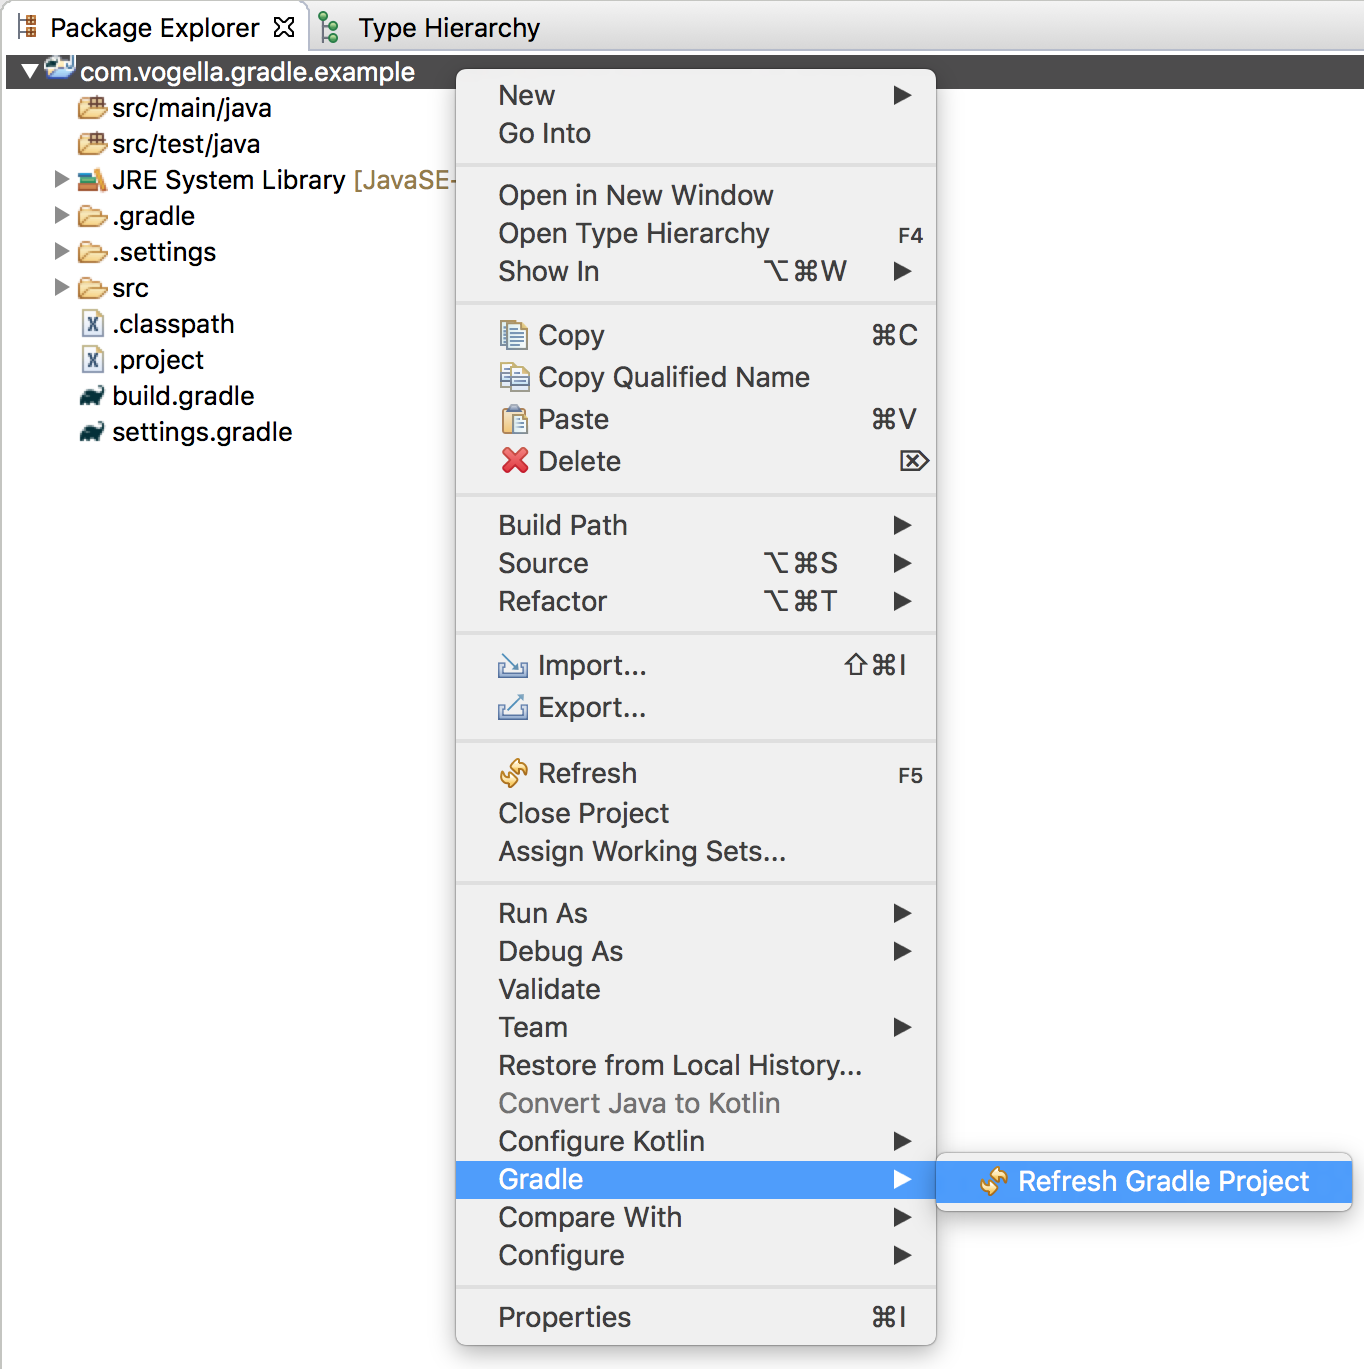
6.2. Updating classpath with the latest changes in the build file
Eclipse does not automatically update the classpath, if the build.gradle file is updated. Select from the context menu of the project or from your build.gradle file for that.
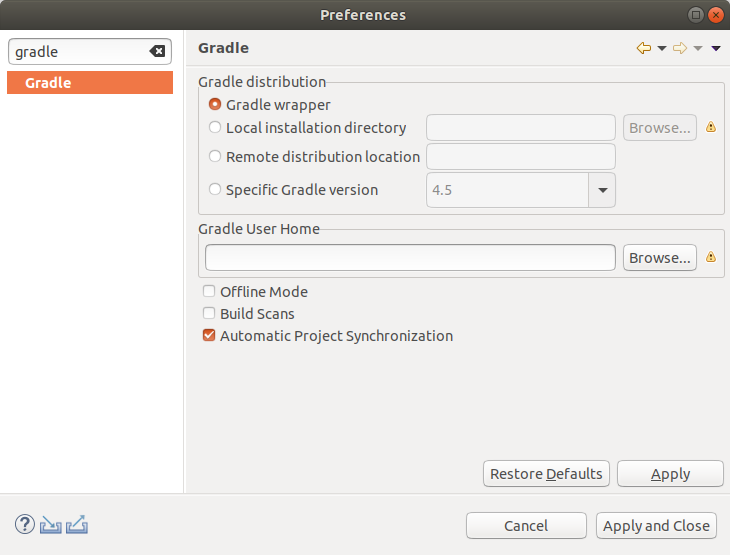
| You can also activate the auto synchronization for changes in the build files. |
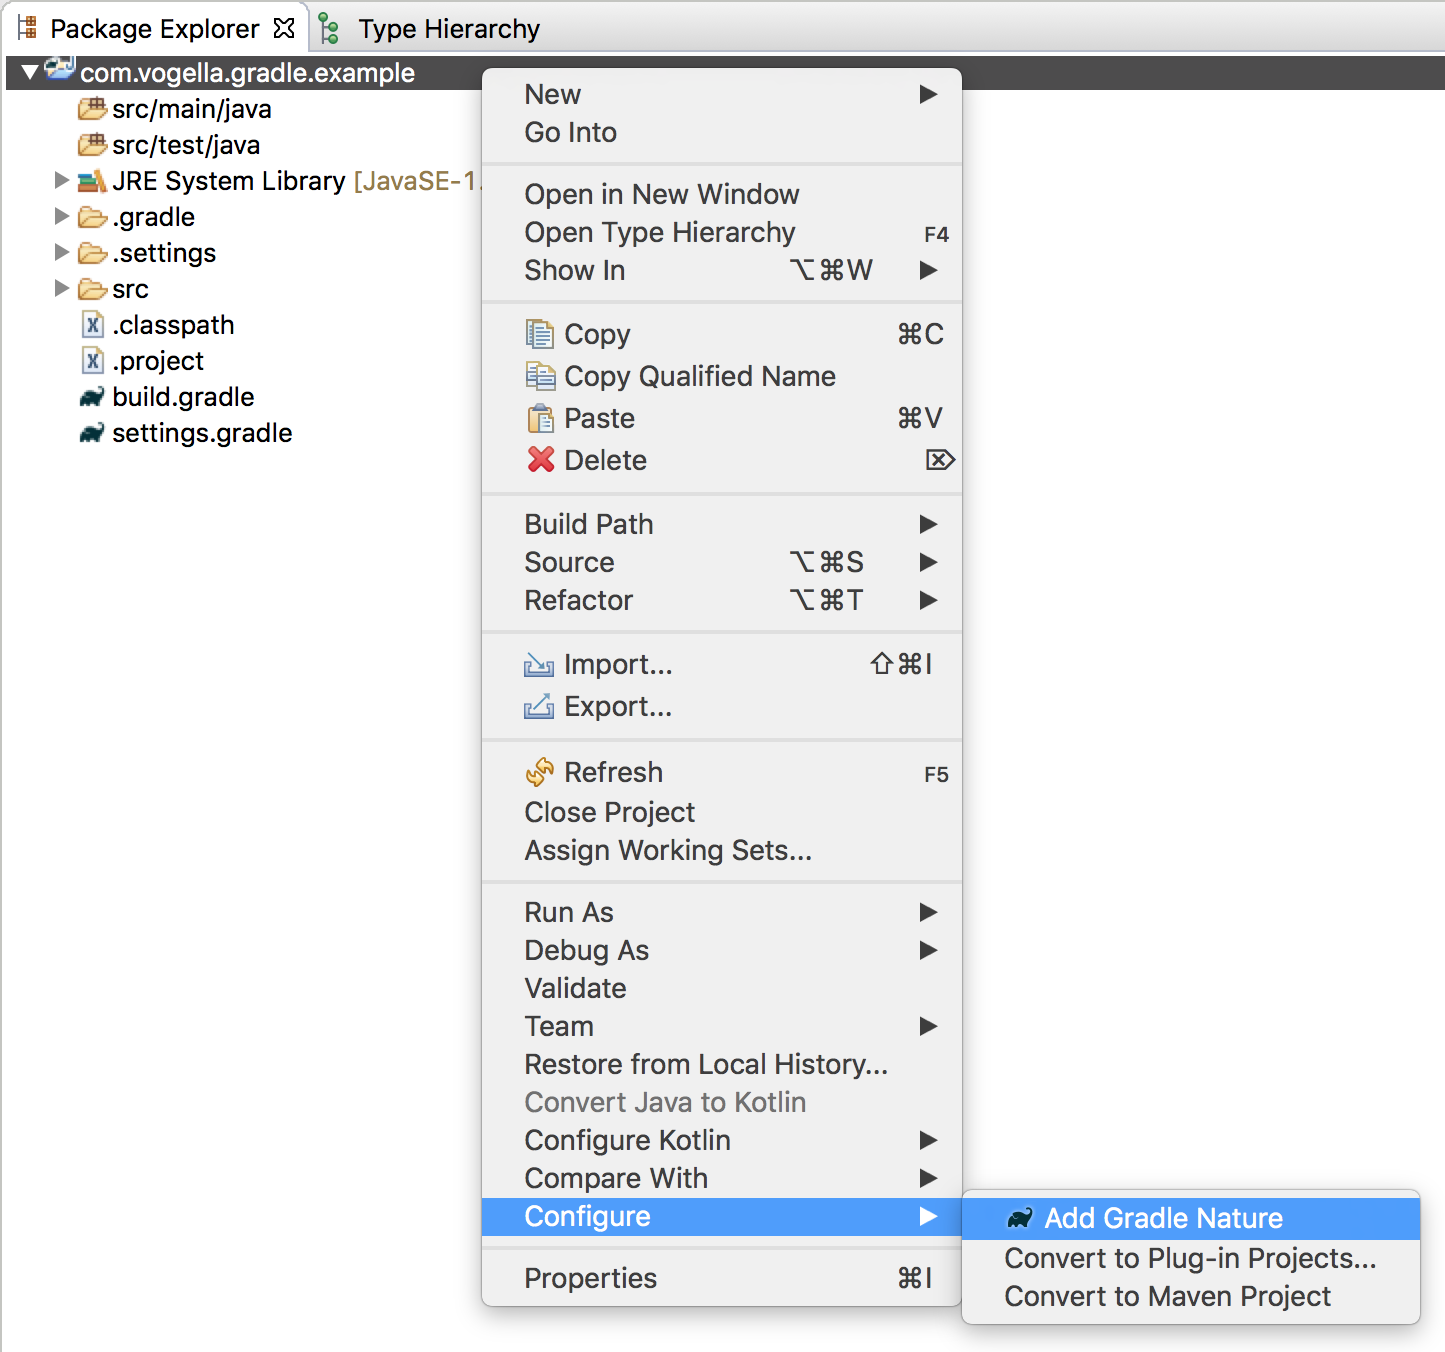
6.3. Add Gradle support to existing Eclipse project
To convert a Java project to use Gradle, select from the context menu of the project.
Run the 'gradle init' task to create the initial Gradle files, in case you do not have them yet.
7. Annotation processing (apt) with Gradle in Eclipse
7.1. Overview
The gradle-apt-plugin supports annotation processing for Gradle. It also supports using this in Eclipse and IntelliJ.
7.2. Setup in the Eclipse IDE
The following example describes it usage using the com.google.auto.value to automatically generate builders for your data model.
Adjust your build.gradle to enable the gradle-apt-plugin.
buildscript { repositories { maven { url "https://plugins.gradle.org/m2/" } } dependencies { classpath "net.ltgt.gradle:gradle-apt-plugin:0.13" } } apply plugin: "net.ltgt.apt-eclipse" apply plugin: 'java-library' repositories { // Use jcenter for resolving your dependencies. // You can declare any Maven/Ivy/file repository here. jcenter () } dependencies { // Use JUnit test framework testImplementation 'junit:junit:4.12' } 7.3. Example: Using Auto-value with apt-processing
The following demonstrates the usage of the Auto value apt-processor in a Java project.
dependencies { // more stuff // auto-factory contains both annotations and their processor, neither is needed at runtime compileOnly "com.google.auto.value:auto-value:1.5" apt "com.google.auto.value:auto-value:1.5" } Afterwards run the eclipse task. This configures apt-processing within the Eclipse IDE.
import com.google.auto.value.AutoValue ; @AutoValue abstract class Task { static Task create ( String summary , String description , int duration ) { // See "How do I...?" below for nested classes. return new AutoValue_Task ( summary , description , duration ); // generated by the apt processor } abstract String summary (); abstract String description (); abstract int duration (); } Using it:
import org.junit.Test ; import static org . junit . Assert .*; public class TaskTest { @Test public void testSomeLibraryMethod () { Task create = Task . create ( "Learn apt" , "Now" , 10 ); System . out . println ( create ); } } 9. Contribute to the buildship project
After you installed the Buildship tooling, you can help the project by reporting issues in the Gradle Forum or by contributing code.
9.2. Get the source code
Since the project is hosted on Github, you can obtain the source by cloning it from the following URL:
git@github.com:eclipse/buildship.git
The project also provides a Oomph setup for the development, which is explained further in the Buildship Docs.
How To Create A Spring Boot Project In Eclipse
Source: https://www.vogella.com/tutorials/EclipseGradle/article.html
Posted by: saezawaseen.blogspot.com
0 Response to "How To Create A Spring Boot Project In Eclipse"
Post a Comment